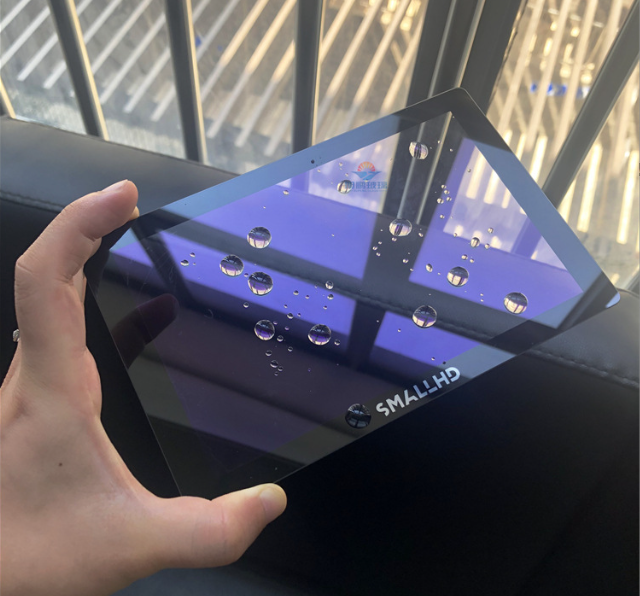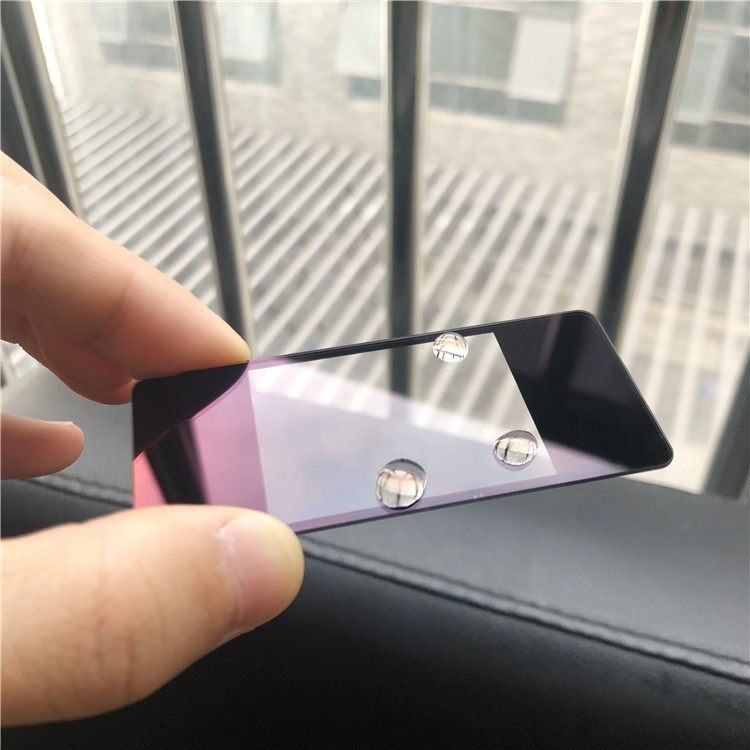
The AF Glass screen protector is a popular choice for safeguarding your device’s display, thanks to its anti-fingerprint technology. Proper installation is crucial for maximizing the benefits of AF Glass. This article will walk you through a detailed installation process to ensure your screen protector is applied flawlessly.
Pre-Installation: Preparing for AF Glass Application
Understanding the Components of Your AF Glass Kit
What’s Inside the Box?
Typically, an AF Glass screen protector kit includes the glass protector itself, a microfiber cloth, a dust removal sticker, an alcohol prep pad, and sometimes guide stickers.
Cleaning Your Workspace
Setting Up a Dust-Free Environment
Before beginning the installation, clean your workspace thoroughly to minimize dust, which can cause bubbles under the screen protector.
Step 1: Cleaning Your Device’s Screen
Using the Alcohol Prep Pad
Initial Cleaning
Use the included alcohol prep pad to wipe down your device’s screen. This will remove any oils or residues.
Drying the Screen
Preparing for the Protector
After using the alcohol pad, take the microfiber cloth and dry the screen completely, ensuring no moisture remains.
Step 2: Aligning the AF Glass Screen Protector
Positioning the Glass
Getting It Just Right
Carefully remove the AF Glass from its packaging, touching only the sides to avoid fingerprints on the underside.
Using Guide Stickers
A Handy Tool for Perfect Alignment
If provided, use the guide stickers to help align the protector with your device’s screen. These can act as hinges that you can lift and lower the protector with.
Step 3: Applying the AF Glass Screen Protector
Placing the Protector onto the Screen
The Moment of Truth
Gently place the AF Glass onto your device, starting from one end and slowly lowering it down to the other. Ensure it is perfectly aligned.
Pressing Out Bubbles
Securing the Protector
Once the protector is on the screen, press down in the center and watch the adhesive spread to the edges. Use the microfiber cloth to smooth out any bubbles.
Step 4: Final Touches
Removing Bubbles
The Finishing Touch
If any bubbles remain, use the microfiber cloth and gently push them towards the nearest edge.
Inspecting the Installation
Checking for Flaws
Give your device a thorough look to make sure the AF Glass is perfectly applied without any dust particles or bubbles trapped underneath.
Advanced Tips for AF Glass Installation
Dealing with Persistent Bubbles
Special Techniques
For bubbles that won’t budge, gently lift the nearest edge of the screen protector with a piece of tape and use the dust removal sticker to capture any debris.
Securing the Edges
Ensuring Complete Adhesion
Sometimes the edges may not stick properly. Apply gentle pressure with the cloth around the perimeter of the device to secure the bond.
Conclusion
Enjoying Your Newly Protected Screen
With your AF Glass screen protector installed, you can enjoy a crystal-clear display that resists fingerprints and smudges.
FAQs on AF Glass Installation
Q: How can I ensure there’s no dust during installation?
A: In addition to cleaning your workspace, you can install the screen protector in a bathroom post-shower, where steam has settled the dust.
Q: What if the AF Glass doesn’t stick?
A: Ensure the screen is completely clean and that you’ve applied sufficient pressure. If it still doesn’t stick, you may need a replacement.
Q: How do I remove the AF Glass protector if needed?
A: Use a thin, plastic card to gently pry up one of the corners and slowly lift away from the screen.
Q: Can I reuse an AF Glass screen protector after removing it?
A: Generally, once removed, the adhesive qualities are compromised, and it’s not recommended to reuse it.
By following these steps, you can achieve a bubble-free installation of your AF Glass screen protector, ensuring long-lasting protection and clarity for your device’s display.

